VRAY Instrument Limited
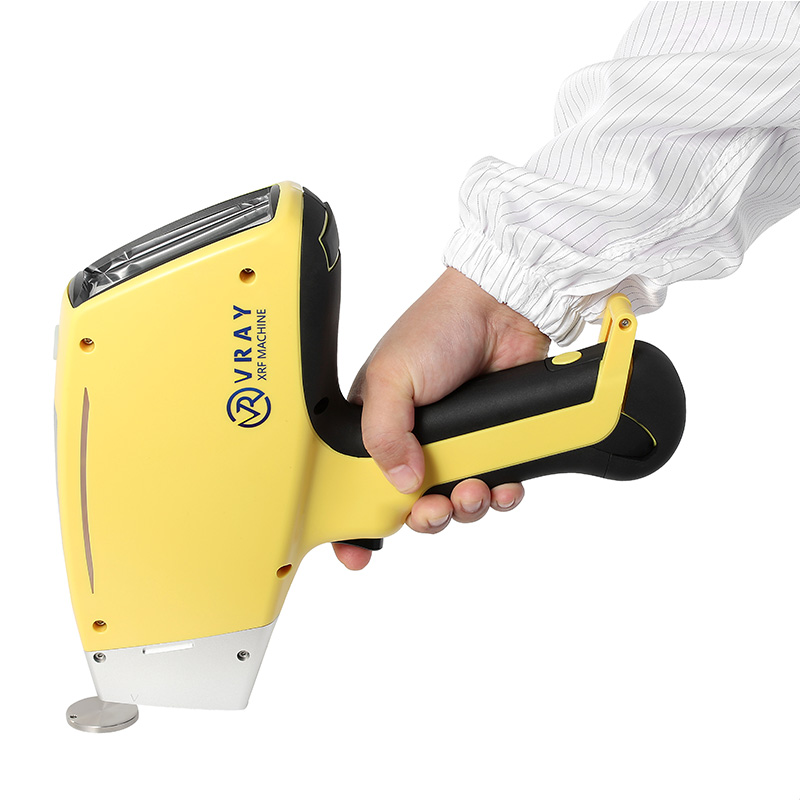
Watch the video below to explore our VRAY's Portable XRF Gold Tester! See its main components: data/charger cables, charger, batteries, Bluetooth printer, calibration sample, and film. The video details the operation process: powering on, sample placement, selecting test type, viewing, and analyzing data. Learn precise on-the-go precious metal analysis.

1. Connect Power: First, plug in the charger cable to the device and then to a power outlet, ensuring stable power supply. If using batteries, confirm they are sufficiently charged.
2. Power On: Press the power switch to start the instrument. Allow the device to complete its self-checks and initialization, waiting for the "ready" screen to appear.
3. Place Sample: Carefully position your precious metal sample (e.g., gold jewelry, bar) securely within the instrument's designated test window or sample chamber, ensuring full contact.
4. Select Test Type: On the screen interface, choose the appropriate detection mode (e.g., "Gold Karat Test," "Alloy Analysis"). Follow prompts to initiate the non-destructive scanning process.
5. View Results: Immediately after the scan, the device's screen will display detailed analysis results, including the gold's karat value, purity percentage, and the precise content of other elements.
6. Put Away Device: Once all tests are complete, power off the instrument, carefully disconnect all cables, clean the device surface, and securely return the gold tester and its accessories to their dedicated carrying case for future use.